image
Compressed locally — nothing is uploaded
Compress Images to a Smaller Size
Drop an image and shrink its file size — set a quality level or a target size like under 200 KB. Batch supported, full control, 100% private.
Drag & drop your images
or click to browse — multiple files welcome
Shrinks JPG, PNG & WEBP · Choose a quality or a target file size
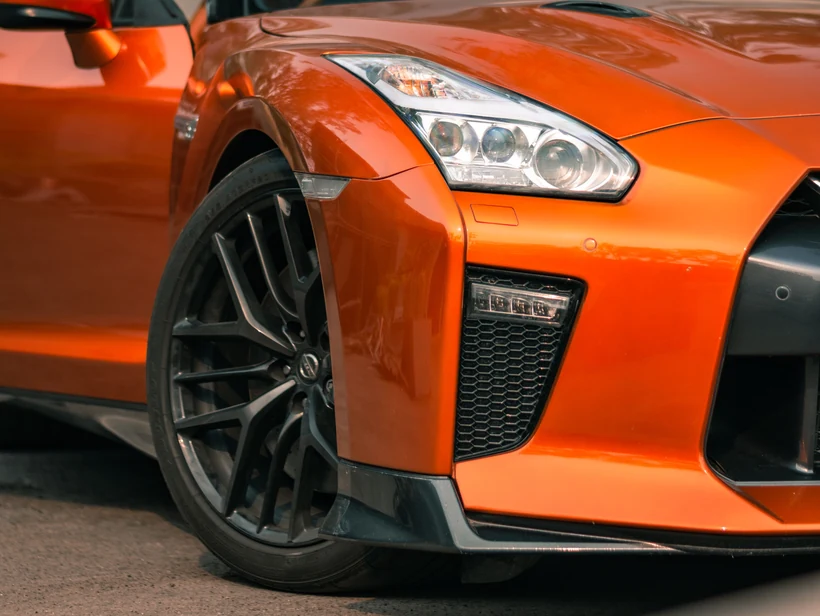 ~12× smaller
Original
3.1 MB
Compressed
268 KB
Output format
Mode
KB or smaller
px longest side
How to compress an image
1.Drop your images
Add one or many — JPG, PNG or WEBP. Everything stays on your device.
2.Pick quality or size
Slide the quality, or set a target like “under 200 KB” and we hit it automatically.
3.Download
Grab the smaller file, or download them all as a ZIP. No watermark, no sign-up.
Compressing without visible damage
Resize before you compress
This is the single most useful thing to know about hitting a size limit, and most people do it in the wrong order. File size scales roughly with pixel count, so halving an image's width and height cuts it to about a quarter — before the quality slider is touched at all.
A 4000-pixel-wide photo dropped to 1600 pixels will usually clear an upload limit on its own, with no perceptible loss, because nothing displaying it needed 4000 pixels. A 1600-pixel image at quality 85 looks better and weighs less than a 4000-pixel image at quality 40.
Where the quality scale actually bites
The 0–100 quality number is badly non-linear, and knowing its shape saves a lot of guessing:
- 100 to 90: no visible difference on most photographs, but a large file. Wasteful for the web.
- 90 to 80: still visually indistinguishable, at roughly half the size. Where most images should sit.
- 80 to 70: slight softening in fine texture. Fine for thumbnails and secondary images.
- 70 to 60: artefacts appear in skies, skin tones and around sharp edges.
- Below 60: obvious blockiness and haloing. Only when size dominates everything.
Content changes the answer
Those bands assume photographs. Busy texture — foliage, gravel, fabric — hides compression artefacts well and can go lower than you would expect.
Smooth gradients are the opposite. A clear sky or a studio backdrop has no texture to mask the boundaries between compression blocks, so banding appears early. Screenshots, illustrations and anything with text are the worst case and often should not be lossy at all; if they must be, start at 90 rather than 80.
Never compress twice
Each lossy save re-quantises data that already carries artefacts from the previous save, and the damage accumulates permanently. Ten saves at quality 90 produce a visibly worse image than one save at quality 60.
Keep a lossless master and export to a compressed format once, at the end. If you need to send an image to someone who will edit it further, send the master.
Preguntas frecuentes
How does image compression reduce file size?
Compression re-encodes the image at a lower quality setting and, for photos, discards fine detail the eye barely notices. This tool lets you trade a little quality for a much smaller file, and shows the before/after size so you can pick the sweet spot for your target.
Will compressing make my image look bad?
Not if you pick a sensible quality level. At 70–85% quality most photos look identical to the original while the file shrinks by 60–80%. You can preview the result and adjust the slider before downloading, so you stay in control.
What's the best format to compress to?
For photographs, WEBP or AVIF usually give the smallest file at the same visual quality, followed by JPG. For graphics with flat colour or transparency, PNG or WEBP are better. The tool lets you compare formats so you can choose the smallest acceptable file.
Can I compress an image to a specific size, like under 1MB?
Yes — lower the quality slider until the estimated size drops below your target (for example 1MB, 500KB or 100KB for an email or upload limit). The live size readout updates as you adjust, so you can hit an exact budget.
Are my images uploaded when I compress them?
No. All compression happens locally in your browser, so your images are never uploaded, stored or seen by anyone. It works offline once the page has loaded.
Does compressing remove EXIF and location data?
Re-encoding an image typically strips most embedded metadata, including camera info and GPS coordinates. If you specifically want to remove metadata while keeping full quality, use our EXIF remover instead.
Más herramientas gratis y privadas
Exporta aquí y sigue editando allí — tu imagen te acompaña, sin volver a subirla.