
Remove Objects from Photos
Brush over the thing you want gone — a stranger, a sign, a blemish — and a content-aware fill blends it away. Free, private and instant.
Drop a photo
or click to browse — JPG, PNG or WEBP
Works best on even backgrounds — sky, grass, walls, sand
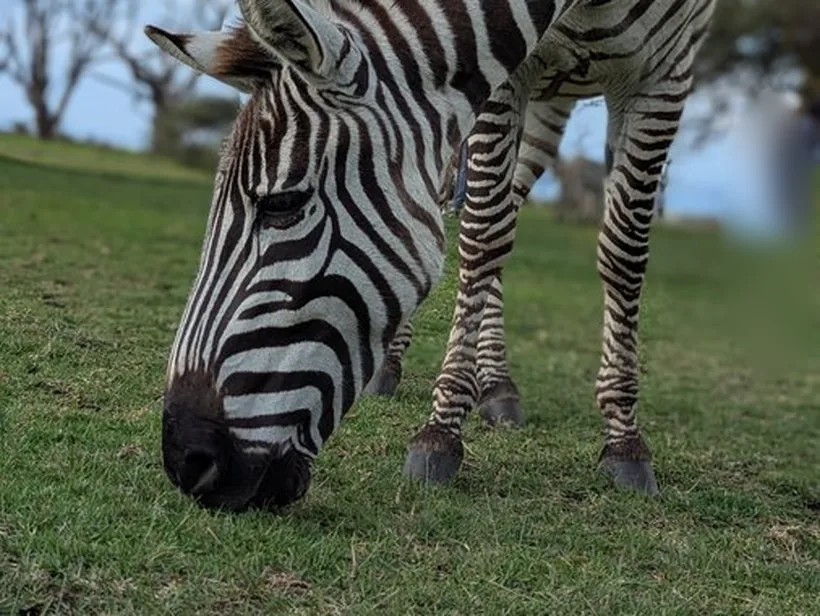
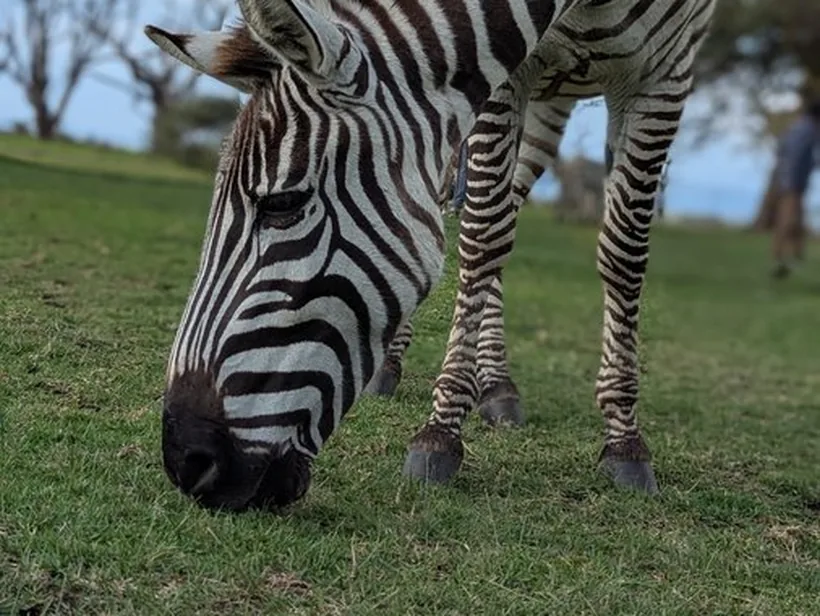
Brushing the mask requires a mouse, trackpad or touchscreen. The Erase, Undo and Download buttons are keyboard-accessible.
Brush over the object, then press Erase. Repeat in smaller passes for tricky areas.
Press Ctrl V to paste
Your images never leave your device
Erase an object in three steps
Any JPG, PNG or WEBP — it's read straight in your browser, never uploaded.
Paint over the thing you want gone and press Erase — the fill blends the area away.
Export full resolution as PNG or JPG — free and watermark-free.
How content-aware fill decides what goes in the hole
The fill is borrowed, not imagined
Erasing an object leaves a hole, and the fill is assembled from the pixels around it — colour, texture and gradient sampled from the boundary and propagated inward, coarse structure first and fine detail after.
This is why the surroundings decide the result far more than the object does. A person standing against open sky disappears completely, because the algorithm has an enormous amount of consistent sky to borrow from. The same person in front of a bookshelf leaves a smear, because there is no way to infer which book was behind them.
Brush generously, but not too generously
Under-brushing is the most common mistake. Leaving a rim of the object's edge pixels means those colours get treated as legitimate surroundings and propagated into the fill, producing a ghost in roughly the object's shape.
Cover the object plus a small margin, including its shadow and any reflection — a removed object whose shadow remains reads as obviously wrong. But an unnecessarily huge selection forces the algorithm to invent more area than it has evidence for, so the fill turns mushy. Slightly larger than the object is the target.
Several small passes beat one large one
A big object over varied background is better removed in stages. Erase a portion, let the fill settle, then erase the next — each pass has more plausible surroundings to work from than one enormous selection would.
It also lets you stop when it looks right rather than committing to a single result, and to work along a boundary — the edge of a wall, a horizon — instead of across it, which is where fills most visibly break down.
Where this approach runs out
Straight lines that pass behind the object rarely reconnect convincingly: tiles, window frames, floorboards and railings all show a kink. Repeating patterns can drift out of phase. And anything that would require knowing what was genuinely hidden — a face behind a hand, text behind a sign — cannot be recovered by any amount of borrowing.
When the fill fails, cropping the object out of the frame is often the better edit, and an honest one.
Frequently asked questions
How do I remove an object from a photo?
Does it use AI? How good is the result?
Is my photo uploaded anywhere?
Can I remove people from photos?
Is it free, and is there a watermark?
More free, private tools
Export here and keep editing there — your image carries over, with no re-upload.